DIY Tattoo Design: Create Your Own Ink Artwork

When it comes to expressing oneself, body art stands out as one of the most personal and creative ways to do so. Tattoos are not just ink; they are stories, memories, symbols, and art. With DIY tattoo design, you can take control of your ink artwork, ensuring that your tattoo reflects exactly what you want it to say. Whether you're a tattoo enthusiast or someone contemplating their first piece, this guide will walk you through the process of creating your own tattoo design.
Understanding Tattoo Basics
Before you dive into designing, understanding the basics of tattoos is crucial:
- Placement: Different body parts have different pain levels and visibility.
- Size: Affects the level of detail and overall impact.
- Style: From traditional to neo-traditional, watercolor, realistic, and more.
- Color vs. Black and Grey: Adds a different dimension to your design.
- Line Work: Determines how your tattoo will hold up over time.
Gathering Inspiration

Every tattoo begins with an idea. Here’s how to gather inspiration:
- Online Platforms: Visit sites like Pinterest or Instagram for tattoo art.
- Books and Magazines: Art books, tattoo magazines, or any publication that features art can be a goldmine.
- Nature, Culture, and Symbols: Look around you for natural patterns, cultural symbols, or personal symbols that resonate with you.
- Art Exhibitions: Sometimes, visiting art galleries or exhibitions can spark unique ideas.
💡 Note: Always note down where you draw inspiration from. This can help in refining your design or even in crediting the original artist if necessary.
Designing Your Tattoo
Sketching
The first step is to translate your idea onto paper:
- Start with simple sketches, focusing on proportions and layout.
- Use different sizes of paper to get a sense of scale.
- Don’t worry about perfection initially; let ideas flow freely.
Refinement
Once you have a basic design:
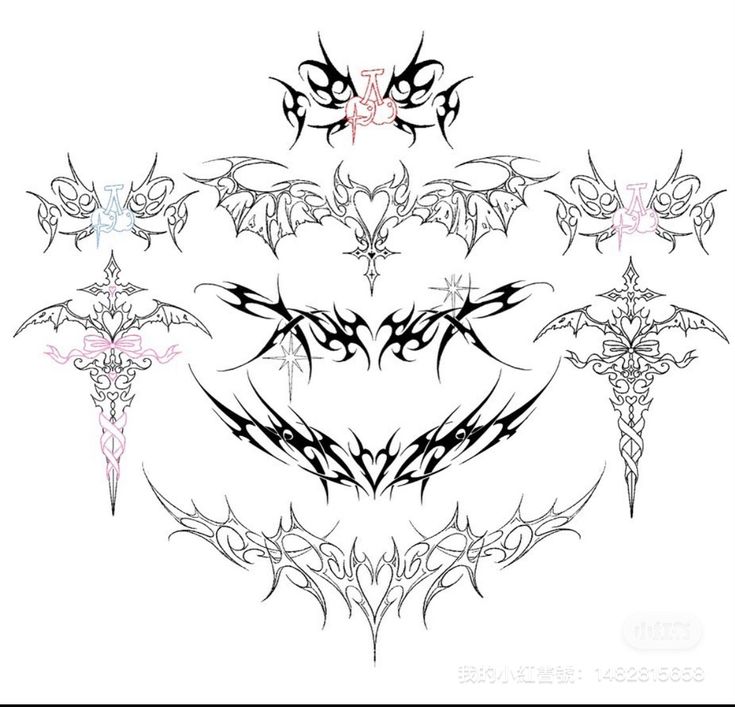
- Refine Line Work: Thicken lines where necessary, ensuring they will translate well when tattooed.
- Detail: Add details that convey your idea but remember tattoos aren’t like drawings; less is often more.
- Stylization: Decide on the style you want, whether it’s minimalist or intricate.
Software Assistance

Use software to refine your design:
- Adobe Illustrator: Allows for vector graphic design, perfect for tattoos.
- Procreate: Ideal for artists preferring a digital tablet experience.
- Autodesk SketchBook: Free software with extensive drawing capabilities.
Considering Placement and Size

Your design’s placement on your body is as important as the design itself:
| Body Part | Visibility | Pain Level | Typical Size |
|---|---|---|---|
| Arms | High | Moderate | Small to Large |
| Torso | Medium | Low | Medium to Large |
| Legs | Medium to Low | Varies | Small to Large |
| Neck/Head | Very High | High | Small |
| Hands/Feet | Very High | High | Small to Medium |
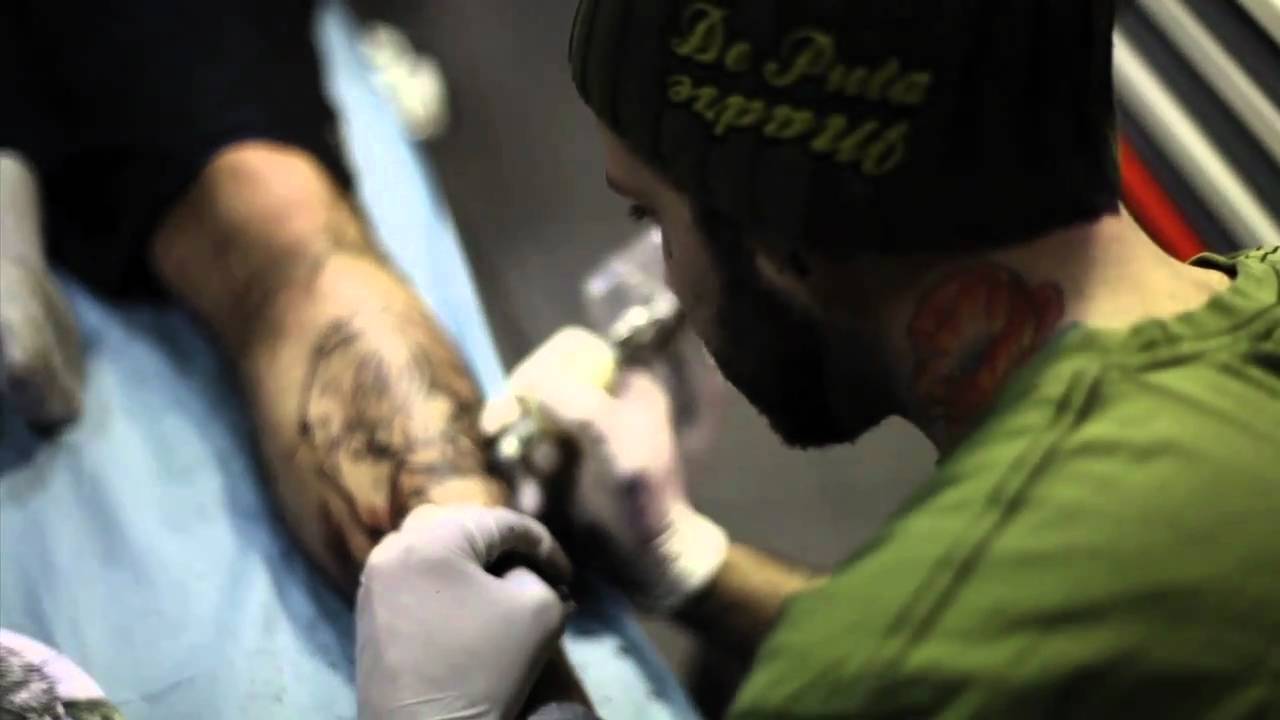
💡 Note: Always consider how the tattoo will look on your body over time. Think about aging, potential skin changes, and the tattoo's fading.
The Importance of Professional Input
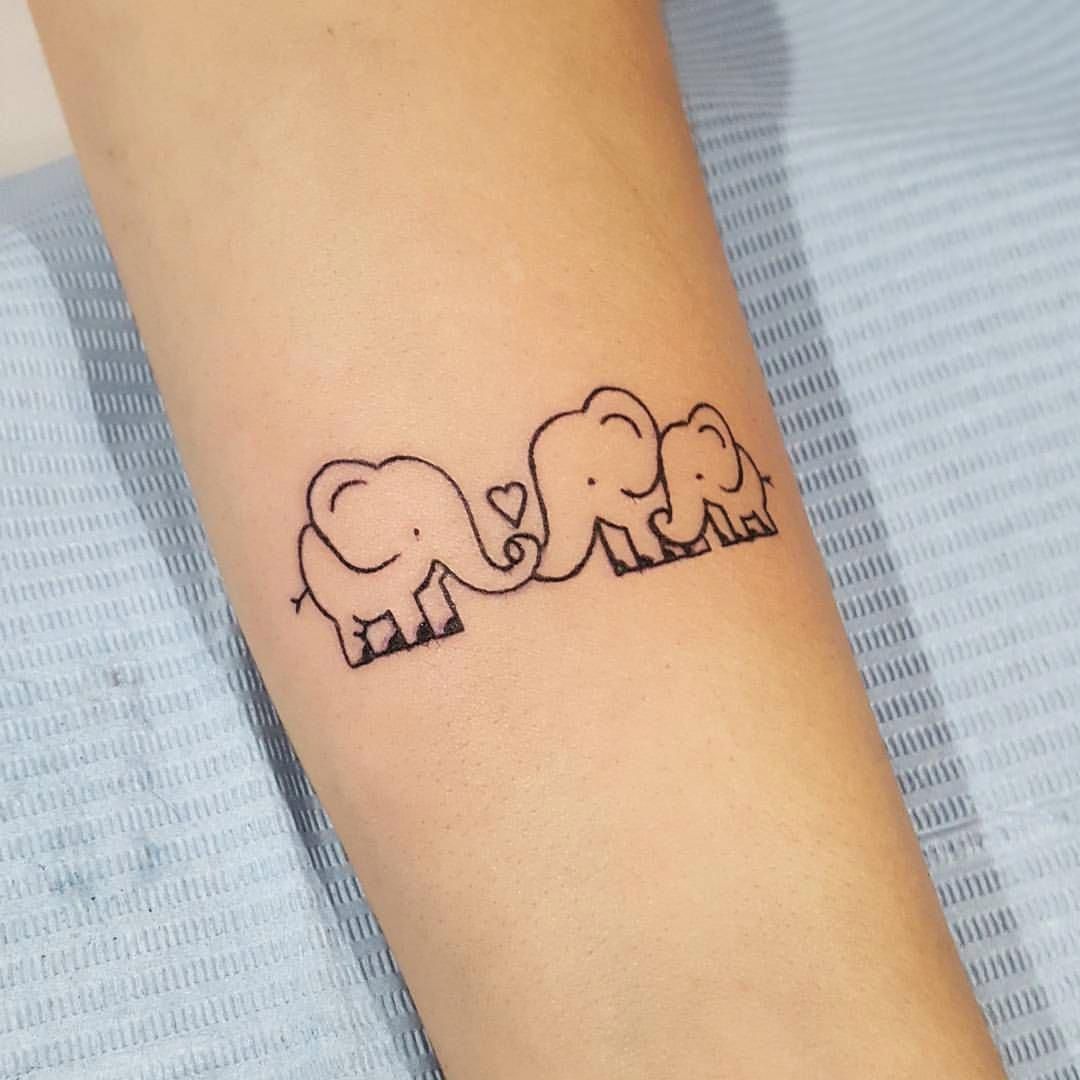
While DIY design is empowering, there’s immense value in getting professional input:
- Artists can provide feedback on design execution and placement.
- They can advise on how your design will look when inked.
- They might suggest modifications to ensure the tattoo lasts well.
So, once you've completed your design:
- Schedule a consultation with a tattoo artist.
- Bring your design on paper or digitally, along with size references.
- Discuss your vision, placement, and any concerns.
Finalizing Your Tattoo Design
After refining and getting professional input:
- Finalize the size, placement, and any changes discussed with the artist.
- Ensure the design is exactly as you envision it before inking.
- Get a stencil or a printout from the artist to see how it looks on your body.
Remember, your tattoo will be with you for a lifetime. By taking the time to design it yourself, you personalize it to an unprecedented level. This process not only gives you control over the artwork but also connects you deeply with the ink that will become part of your story.
The journey of getting a tattoo starts well before the needle touches your skin. With your DIY tattoo design, you're not just getting ink; you're etching your narrative into your skin. This engagement with the design process ensures your tattoo is truly unique to you.
What software is best for tattoo design?

+
For beginners, Adobe Illustrator or Procreate are excellent due to their vector capabilities and digital inking features. Autodesk SketchBook is also great for those looking for free tools with good functionality.
Should I go to a tattoo artist with a sketch or a completed design?

+
It’s best to go with a completed design but be open to suggestions. The artist can help you refine your design to ensure it translates well to ink.
Can I DIY tattoo myself?

+
While DIY tattooing exists, it’s highly risky due to health and hygiene issues, as well as skill requirements. It’s safer and often results in better quality to have a professional do it.
